Leaky Faucets and Creaky Floors: A DIY Guide to Common Home Restoration Issues
The rhythmic drip-drip-drip of a leaky faucet or the disconcerting creak beneath your feet – these seemingly minor annoyances can disrupt the peace and comfort of your home. The good news is that many common home restoration issues are within the grasp of even DIY enthusiasts. This guide by Allied Home Restoration, your trusted restoration services company in Linden, MI, equips you with the knowledge and basic steps to tackle these problems yourself.
Conquering the Drip: Fixing a Leaky Faucet
A leaky faucet not only wastes precious water but can also cause water damage to surrounding surfaces over time. Here's how to address a leaky faucet:
Tools You'll Need:
- Adjustable wrench
- Flathead screwdriver
- Phillips screwdriver (depending on faucet type)
- Replacement faucet washer (ensure it matches your faucet model)
- Paper towels or rags
Steps:
- Turn off the water supply: Locate the shut-off valve beneath the sink or behind the wall where the faucet connects. Turn the valve clockwise until it stops completely. You can test if the water is off by turning on the faucet handle. No water flow signifies a successful shutoff.
- Prepare the workspace: Place a bucket or towel under the faucet to catch any dripping water. Use paper towels or rags to absorb any existing water around the faucet base.
- Remove the handle: Depending on your faucet style, you might need a flathead screwdriver or an Allen wrench to remove a small screw securing the handle cap. Once the cap is off, you might find another screw holding the handle in place. Use the appropriate screwdriver to remove this screw and carefully lift the handle off the faucet stem.
- Access the faucet washer: With the handle removed, you'll see the faucet stem with a packing nut around its base. Use the adjustable wrench to loosen the packing nut (turn counterclockwise). Be careful not to overtighten as this can damage the nut.
- Replace the washer: The old washer will likely be worn or damaged. Remove it carefully and replace it with the new washer, ensuring it sits flush against the stem.
- Reassemble the faucet: Tighten the packing nut snugly with the adjustable wrench. Reattach the faucet handle using the screws you removed earlier, and secure the handle cap if applicable.
- Turn on the water supply: Slowly turn the shut-off valve counter-clockwise to restore water flow. See if there's any water dripping or pooling near the bottom of the faucet. If there are leaks, slightly tighten the packing nut (be cautious not to overtighten).
Tips:
- If your faucet has a cartridge instead of a washer, consult your faucet manual or manufacturer's website for specific replacement instructions.
- Take pictures during disassembly to aid in reassembly.
- If you're unsure about any step, it's always best to consult a professional plumber.
Taming the Creak: Addressing Squeaky Floors
Creaky floors can be a nuisance, especially in older homes. Here's how to silence those unwanted sounds:
Tools You'll Need:
- Screwdriver
- Hammer
- Wood shims (optional)
- Silicone spray or powdered graphite
Steps:
- Identify the source of the creak: Walk around the floor, pinpointing areas where the creaking sound originates. This will help you target the specific floorboards needing attention.
- Tighten loose screws: Over time, screws securing floorboards to the subfloor can loosen, causing creaking. Gently check the tightness of all the screws around the faucet with a screwdriver. Tighten any that feel loose.
- Address gaps between floorboards: Small gaps between floorboards can rub together, creating a creaking sound. You can try inserting thin wood shims into the gaps and tapping them gently with a hammer to secure them.
- Lubricate squeaky spots: Apply a light coat of silicone spray or powdered graphite to the edges of the squeaky floorboards where they meet the subfloor. Be mindful not to use excessive lubricant, as it can attract dirt and debris.
Tips:
- Identify if the creaking is accompanied by floor sagging. This could indicate a more serious structural issue requiring professional attention.
- If the creaking persists after these methods, consult a qualified flooring contractor to diagnose the problem.
Conquering the Drip: Fixing a Leaky Faucet
While this guide empowers you to tackle some common restoration issues, there are situations where professional help is crucial. Here are some signs it's time to call Allied Home Restoration in Linden, MI:
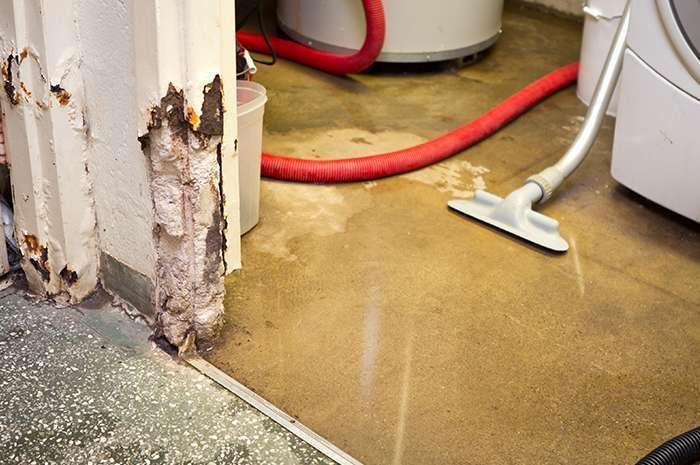
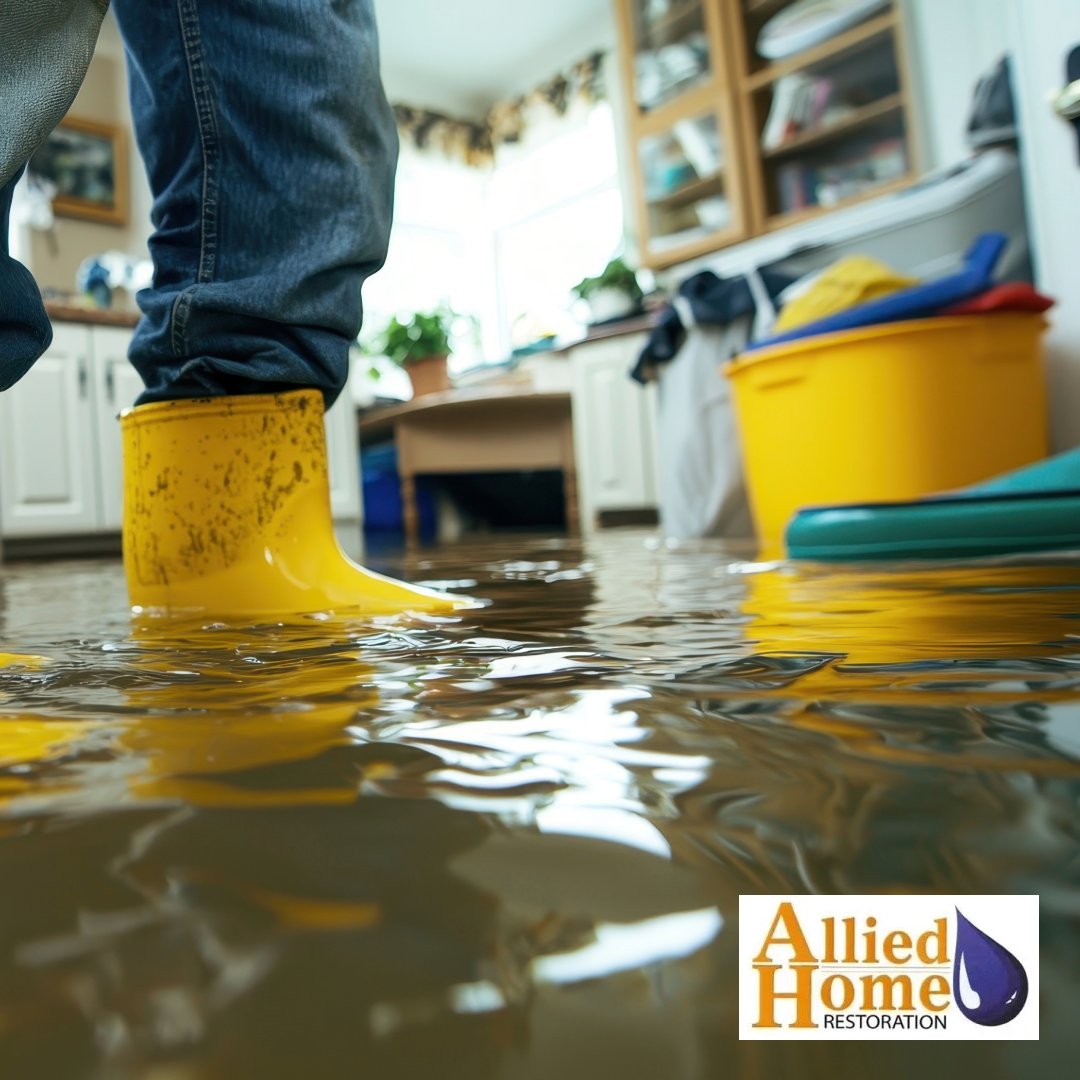
- The leak is extensive: If the leak is severe, causing visible water damage or compromising the structural integrity of your home, don't hesitate to call a professional plumber. They have the expertise and tools to diagnose the source of the leak accurately and implement a lasting solution. Water damage can quickly spread, leading to mold growth, rot, and expensive repairs down the road.
- The creaking is accompanied by floor sagging: Creaky floors with sagging indicate a more serious problem beyond loose floorboards or minor subfloor gaps. This could be a sign of damaged floor joists, inadequate support beams, or foundation issues. Addressing these underlying structural problems requires a qualified professional to ensure the safety and stability of your home.
- You're unsure about the source of the problem: If you can't pinpoint the source of the leak or creak, calling a professional is your best bet. They have the experience to diagnose the issue accurately and recommend the most effective repair strategy.
- The DIY approach seems overwhelming: We understand that tackling home repairs can be daunting, especially for those without prior experience. Don't be afraid to call in the professionals for peace of mind and a guaranteed solution.
- The project requires specialized skills or tools: Some restoration projects necessitate specialized skills and equipment beyond the average homeowner's toolkit. Allied Home Restoration boasts a team of experienced technicians equipped with the latest tools and expertise to handle a wide range of restoration needs.
Contact Allied Home Restoration Today!
Whether you're facing a leaky faucet or a more complex restoration project,
Allied Home Restoration is here to help. We take pride in our commitment to quality workmanship, exceptional customer service, and affordable pricing.
Call us today at (810) 691-5464 for a free consultation and let's discuss how we can restore your home to its former glory! To keep your home in top condition, we offer a suite of services including
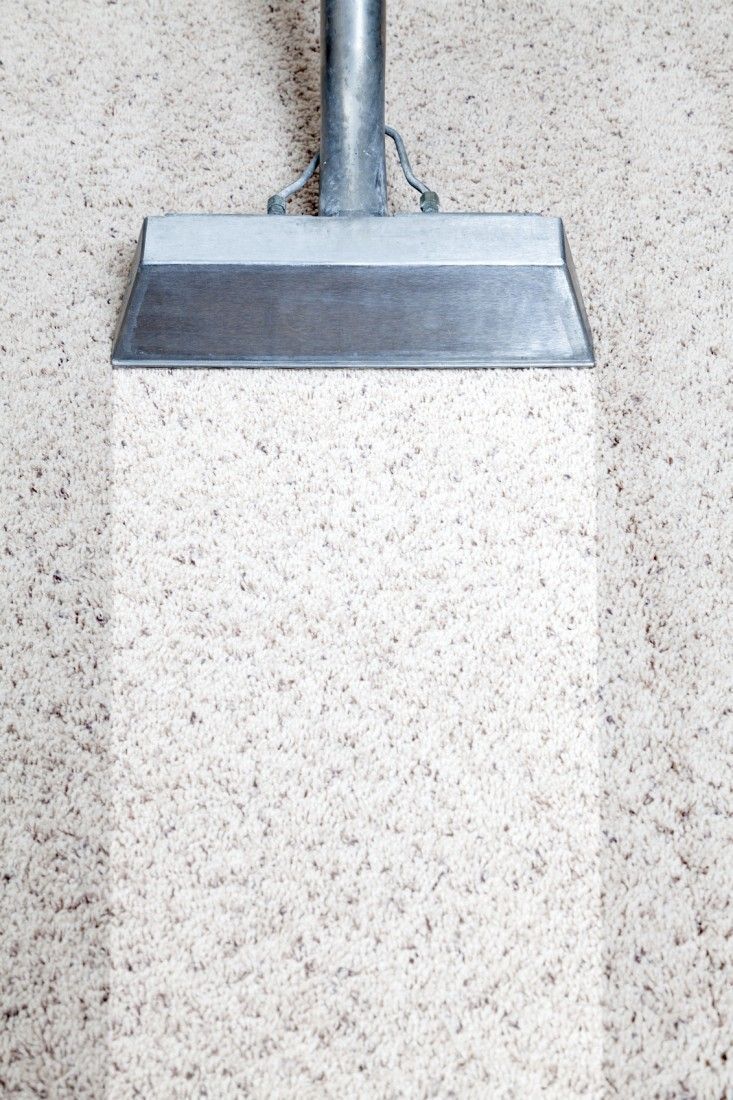
carpet and upholstery cleaning,
mold testing and remediation,
odor removal, and
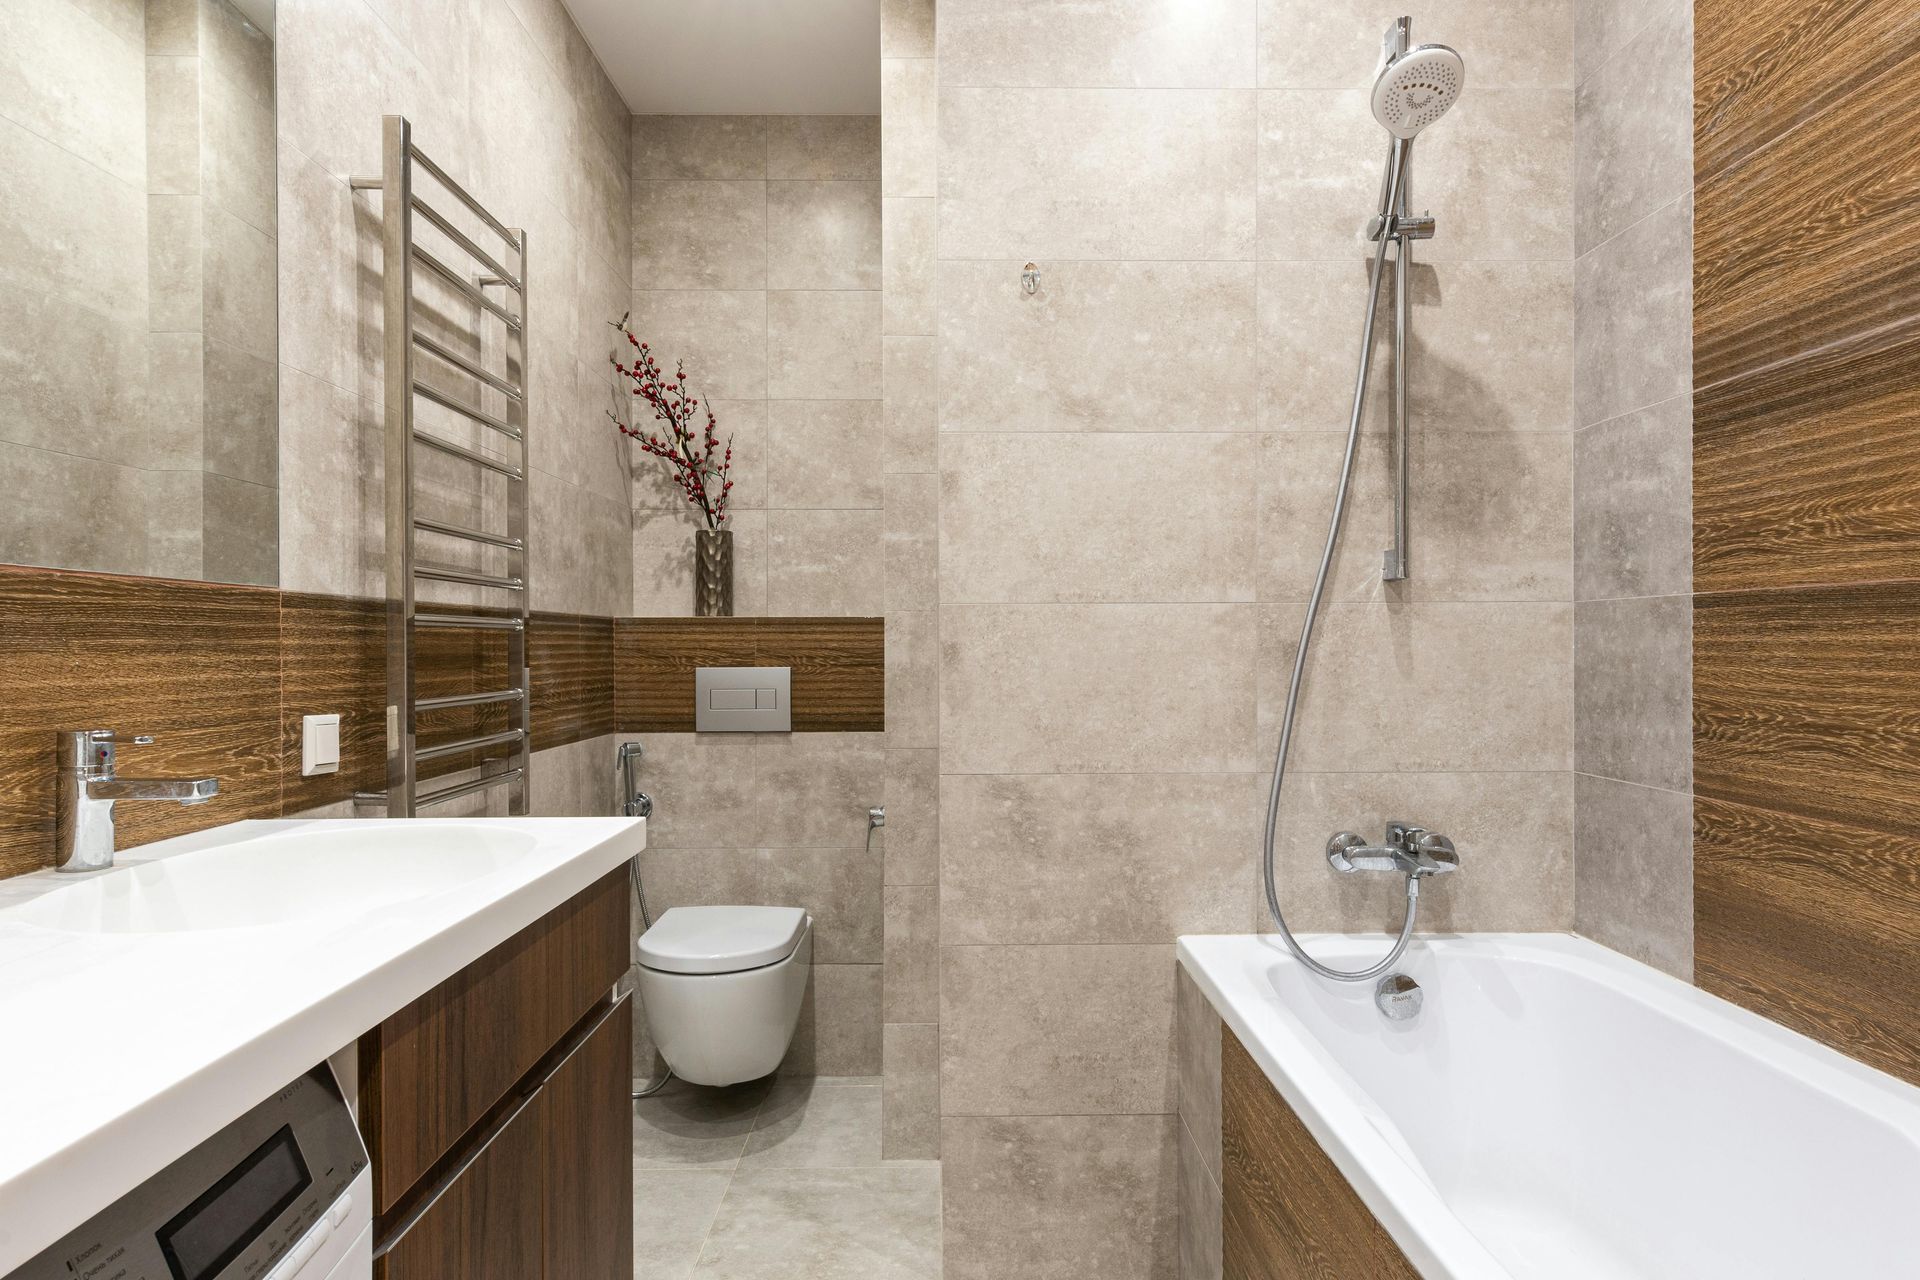
bathroom remodeling.
FAQ
How often should I replace my faucet washer?
While there's no set timeframe, faucet washers typically wear out over time due to constant friction. If you notice a drip or leak, it's a good indication that the washer needs replacing.
What type of lubricant should I use for creaky floors?
Silicone spray or powdered graphite are both effective lubricants for creaky floors. Apply them sparingly to avoid attracting dirt.
Can I use bleach to clean mold?
While bleach kills mold spores on surfaces, it doesn't address the root cause of mold growth. Professional mold remediation involves removing the mold and addressing the moisture source that allowed it to grow in the first place. Bleach can also be harmful.
How long will it take to fix a leaky faucet?
The time it takes to fix a leaky faucet depends on the severity of the leak and the specific cause. Replacing a washer is a relatively quick fix, typically taking 15-30 minutes. However, if the leak involves a more complex issue like a faulty cartridge or valve body, the repair could take longer.
Is it safe to use chemicals to clean mold myself?
There are commercially available mold cleaning products containing bleach or other chemicals. While these products can kill mold spores on surfaces, they don't address the root cause of mold growth and may not completely remove mold hidden within walls or behind fixtures. Additionally, using harsh chemicals can be hazardous to your health and damage surrounding surfaces. Professional mold remediation involves specialized techniques and equipment to ensure complete mold removal and prevent future growth.